
4. Encourage Even Growth
After you are done with your handiwork, you will need to take a moment and observe to ensure that everything is in place. Over the next few weeks, you will need to monitor your snake plant’s growth and see if any ties need adjusting.
Besides the ties, pay attention to the lighting situation. This means that you need to rotate your plant regularly so that all sides get equal light and grow evenly instead of leaning in one direction.
Since snake plants grow a little slower, especially indoors, you must be patient. Expect to keep those ties on for a few months before seeing a noticeable spiral shape.
Pro tip: If your home’s air is dry, give the plant a light mist in the mornings to help keep the leaves flexible.
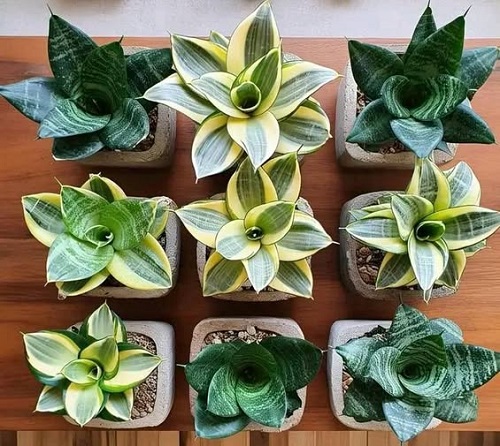
5. Taking Care of the Basics
While shaping, don’t forget the basics. Place your plant in bright, indirect sunlight, water only when the soil is dry (every 2–4 weeks), and make sure it’s in a well-draining mix. A little fertilizer during the growing season can also help your plant develop strong, flexible leaves. It’s pretty simple—healthy leaves shape better.
During spring and summer, feed it once a month with a balanced fertilizer, diluted to half strength. And avoid overwatering, as soggy soil leads to weak roots and floppy leaves, which definitely won’t hold a spiral!
6. Gradually Removing Support
Once your plant starts holding its shape naturally, you can remove the ties and frame little by little. Don’t rush this step; let your plant adjust and grow into its new form. Before you know it, you’ll have a gorgeous spiral or circular snake plant that’s sure to impress anyone who sees it.
Just keep an eye out for new pups—they often mimic the mother plant’s shape. Who knows? You might end up with a whole family of spiraled snake plants!
So these were all the steps on how you can make your snake plant grow in a circular or spiral shape. Try out our methods and let us know how it goes for you in the comments below!
ADVERTISEMENT
